Waterproofing and Railing Integration: 3 Mounting Options for Preventing Moisture Infiltration
Railing performance is just as important as railing appearance – and part of a high performing railing system includes ensuring structural integrity and adequate protection against moisture intrusion into the building structure. Over the years, Kane Innovations has taken great care in engineering its railings for safety, longevity and aesthetics. This necessarily involves addressing, in conjunction with other trades, waterproofing responsibilities up front, in the submittal phase. Optimally, Kane is able to design a systems that (a) allow waterproofing up to and around railing components and (b) does not require subsequent penetration of their work. A good design keeps waterproofing in the hands of waterproofing professionals like the roofing and building envelope professionals, ensures a durable warranty and most importantly protects the substrate from water seepage and potential risk to the substrate.Here are three solutions Kane has used to address waterproofing in the mounting of its structural railings:
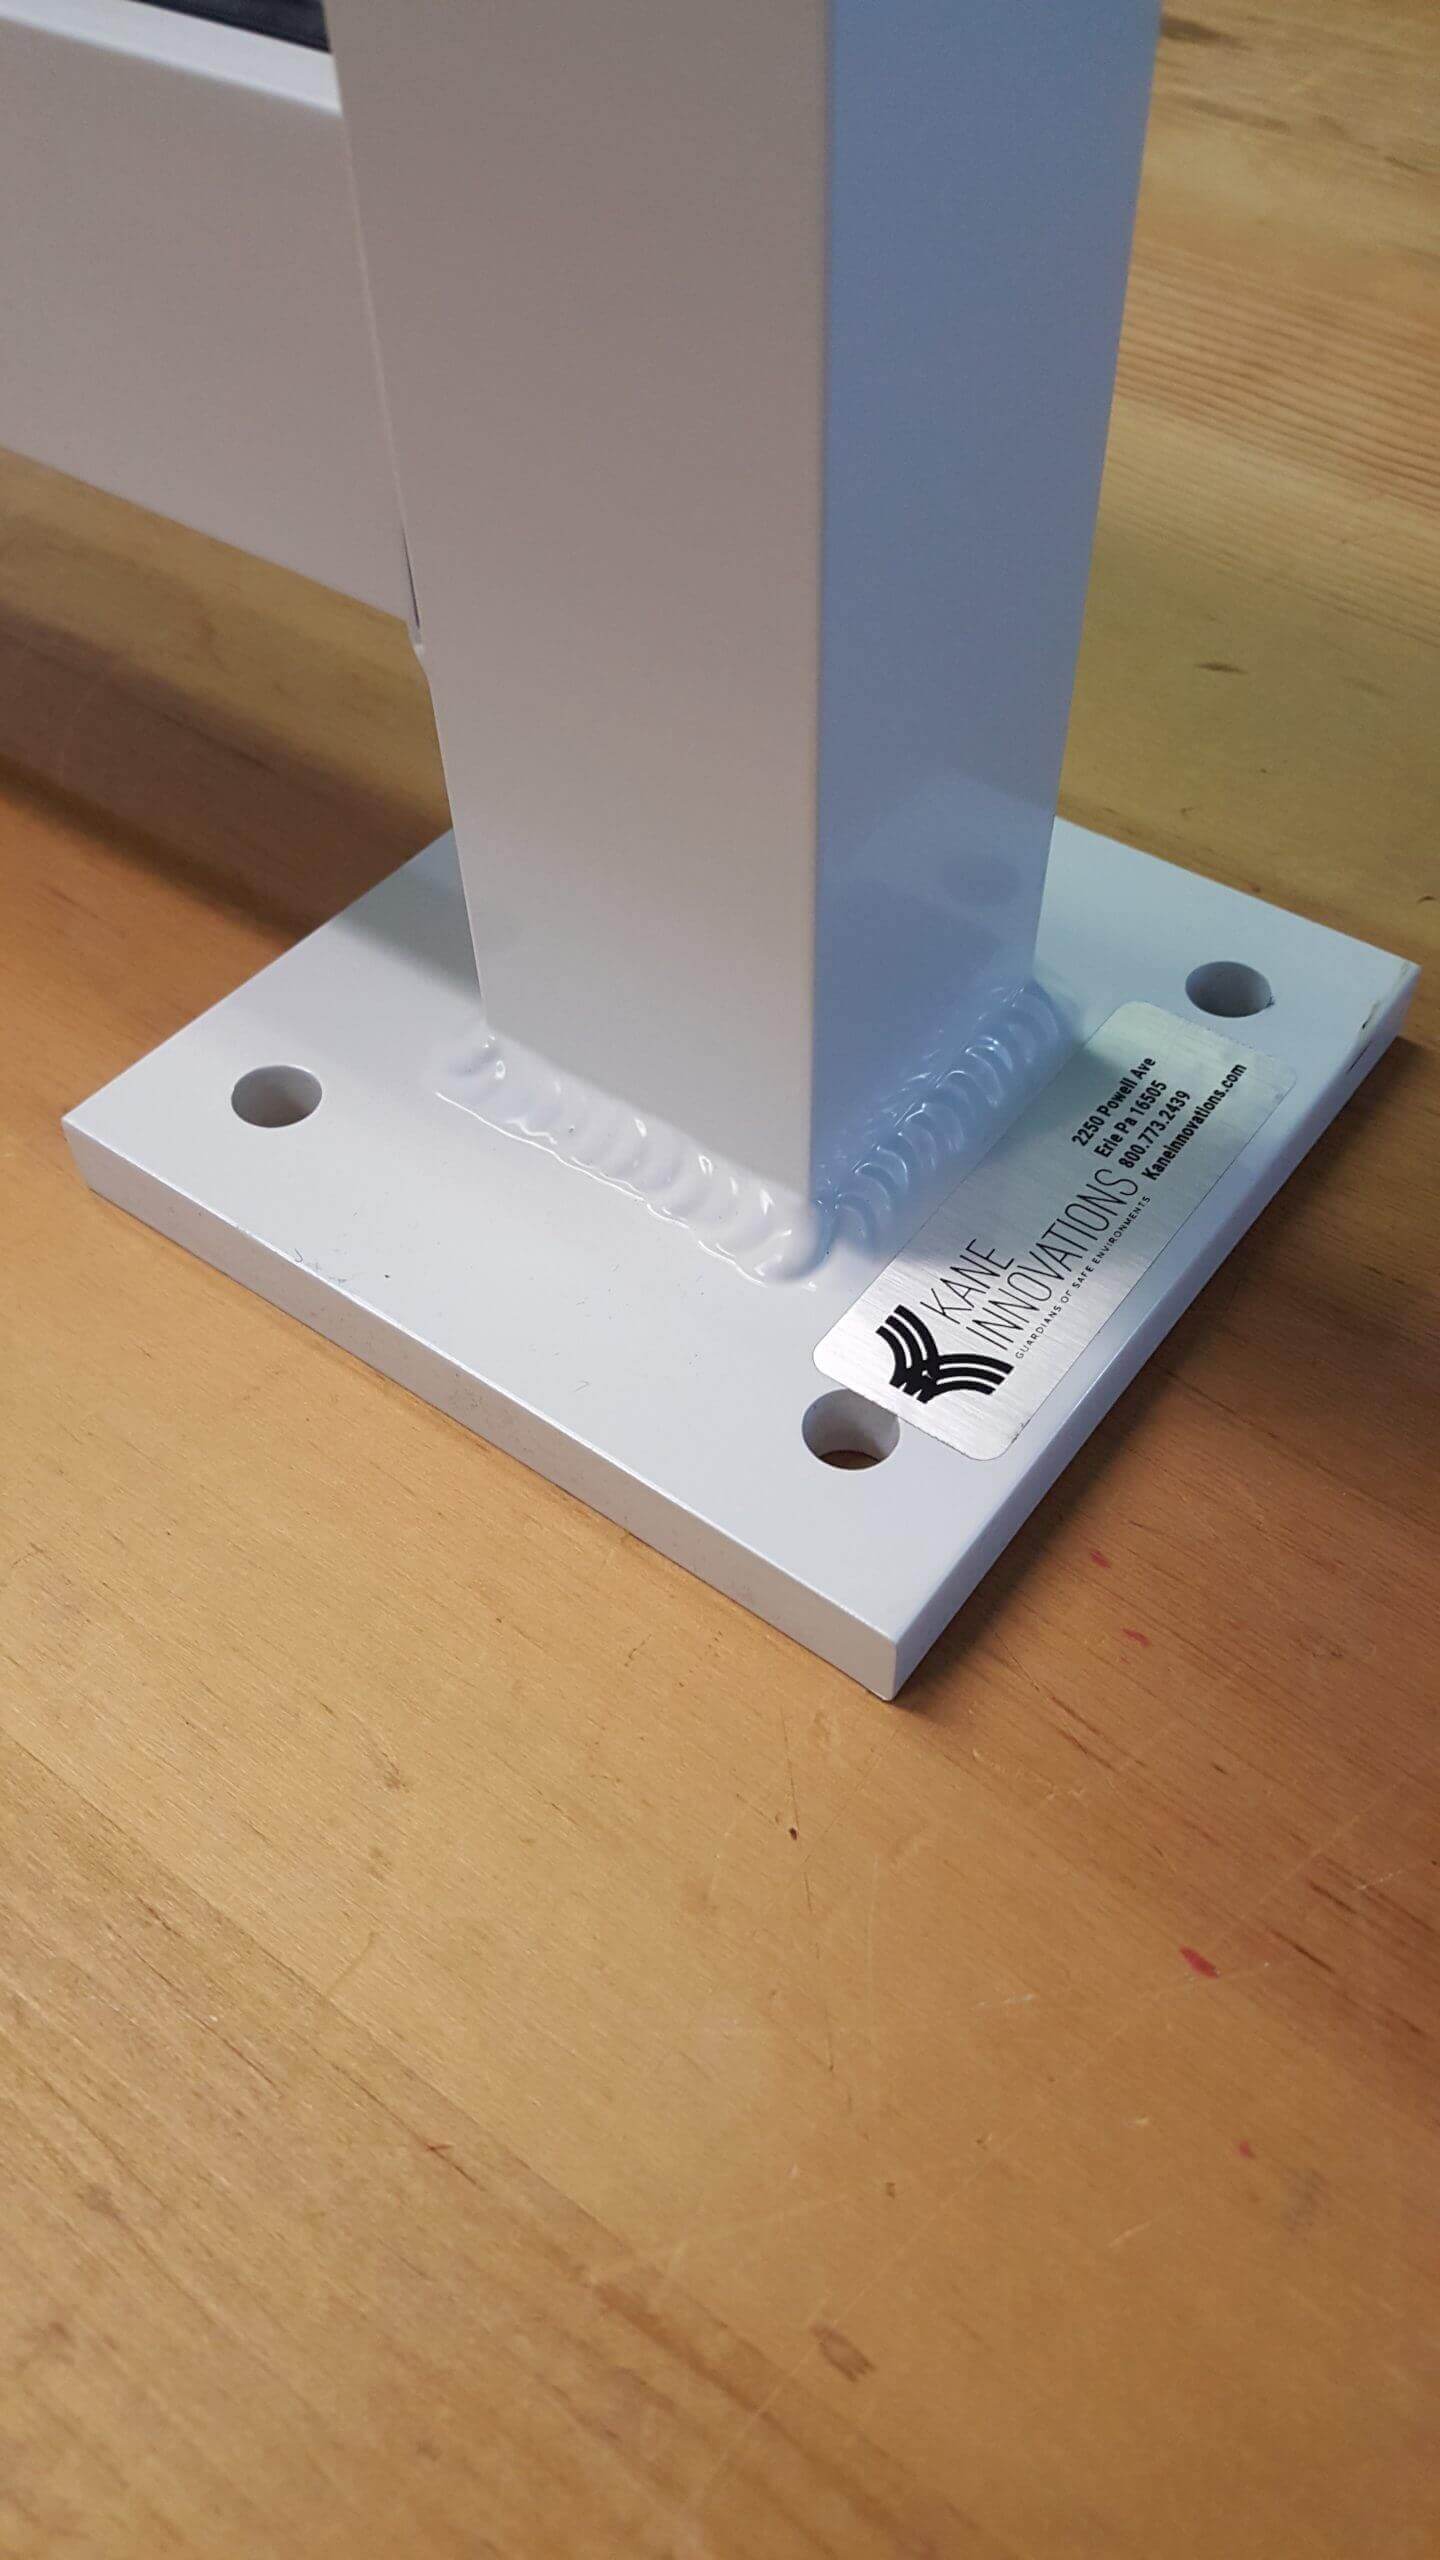
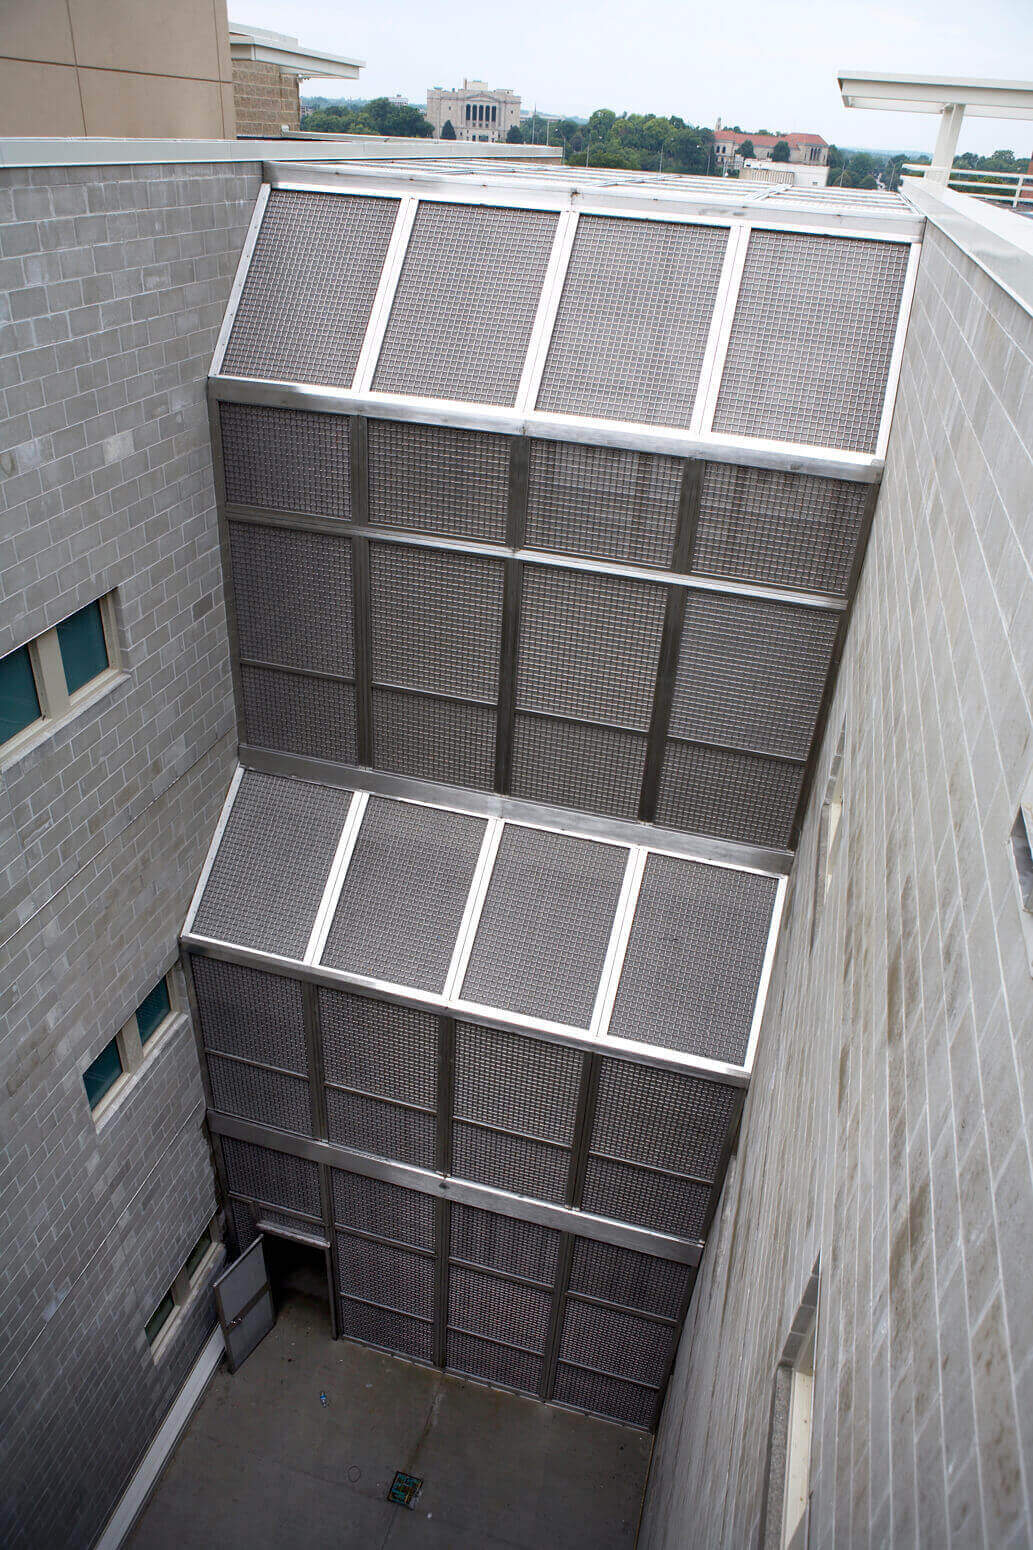
1. Pitch Cups Mounted Railing
Pitch cups are used most commonly found on roof installations or anywhere there is a concern for water leakage into the substrate. 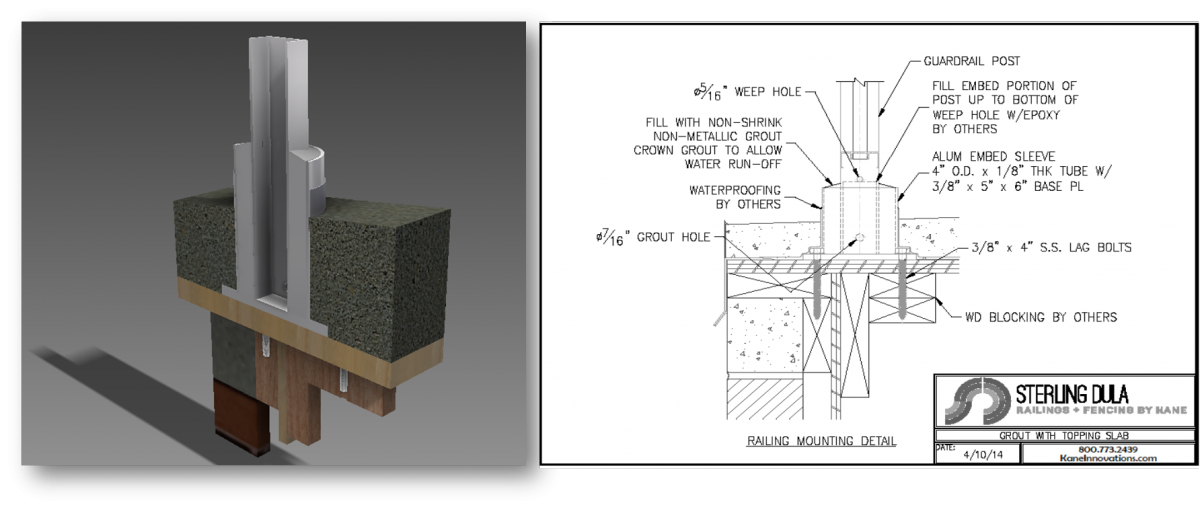
An aluminum sleeve is welded to a baseplate to create a watertight void for any railing post location. This is bolted to the substrate in advance of any roofing membrane being applied to the building. Waterproofing is then wrapped up, over the attachment bolts and around the aluminum sleeve as necessary by the roofing professionals. In many cases, concrete, grass or tile systems are then placed around the pitch cups. However, since the subsequent installation of the railing posts does not touch or puncture the roofing membrane, the roofing warranty remains intact and Kane is able to offer a structurally sound railing design. Like many things in life, this attachment process does cost slightly more. Installation of the pitch cups must be done carefully and professionally in concert with the final layout of the railing design and then generally the same installers need to return to install the actual railings. The alternative to anchor it directly to the substrate. This method requires substantial after railing installation care by the supervising general contractor to ensure water seepage does not reach below the baseplate and into the underlying attachment hardware and underlying surface. Sill mounted brackets, or brackets mounted to parapet walls, utilize metal flashing to ensure a watertight installation.
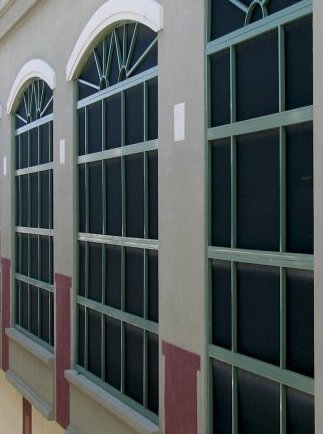
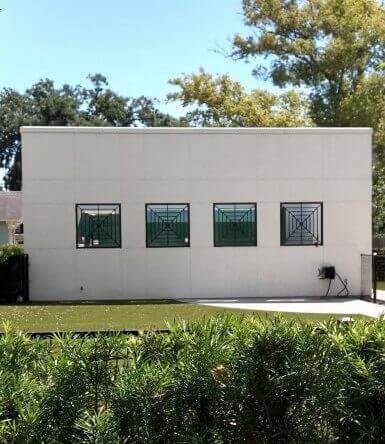
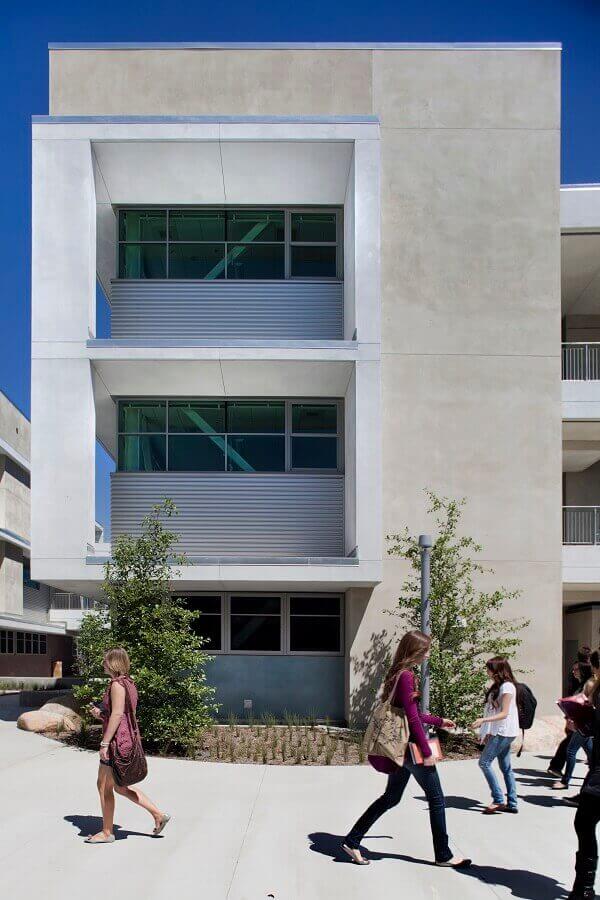
2. Parapet Mounted Railing
Parapet walls require great care to properly mount railing systems and ensure a watertight installation.
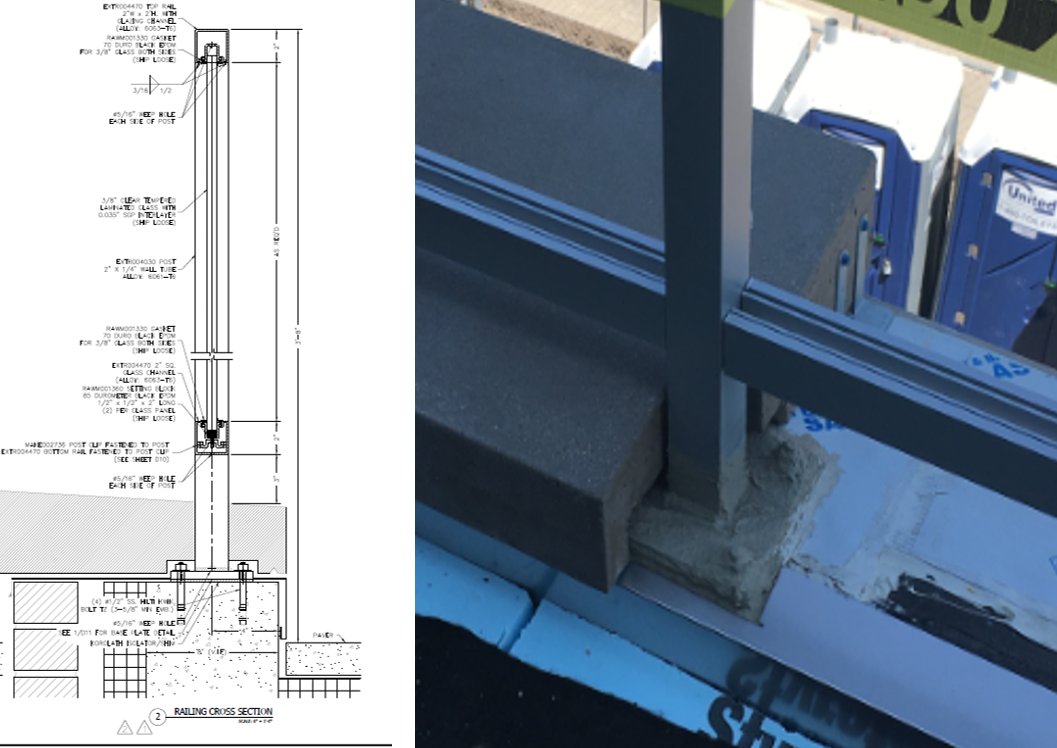 In this example, the baseplate was mounted directly to the wall or sill following the roofer applying a galvanized sheet metal. Kane drilled through this metal flashing to install the railings properly and structurally. The roofer then returned to seal over all of Kane’s bolts, baseplates and penetrations ensuring that a comprehensive warranty to the client was available. Finally, the finished masonry was notched and installed around the posts and sealed with masonry grout. It should be noted that the sheet metal flashing, instead of rubberized membrane, is required due to its non-compressible properties. To properly and economically achieve the desired look, careful coordination must occur between the concrete, roofing, railing and masonry trades. Kane prides itself on being ahead of other trades with providing submittals that clearly show a path forward to achieve such results.
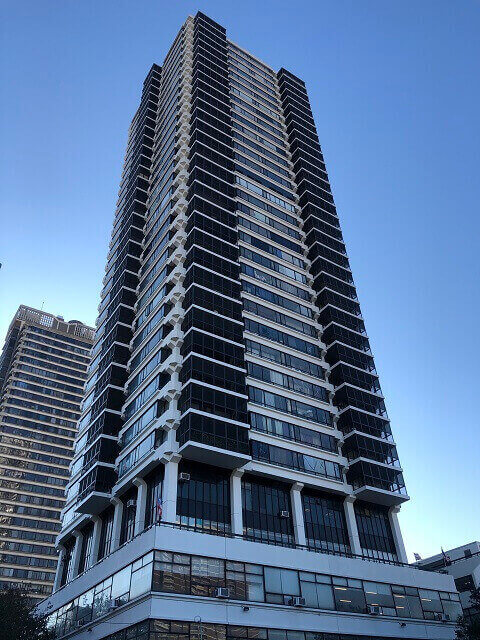
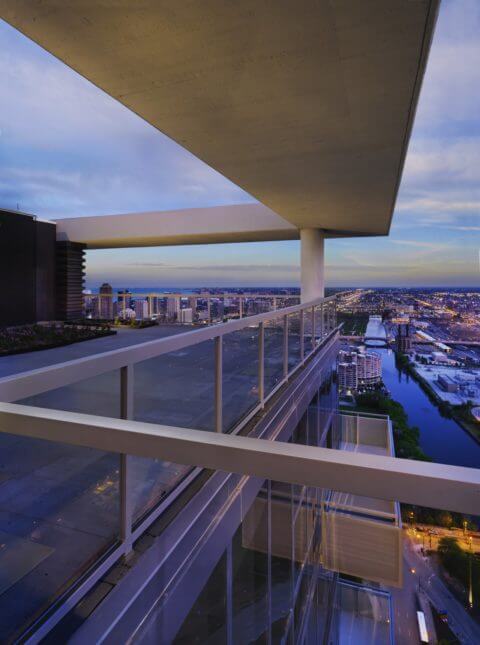
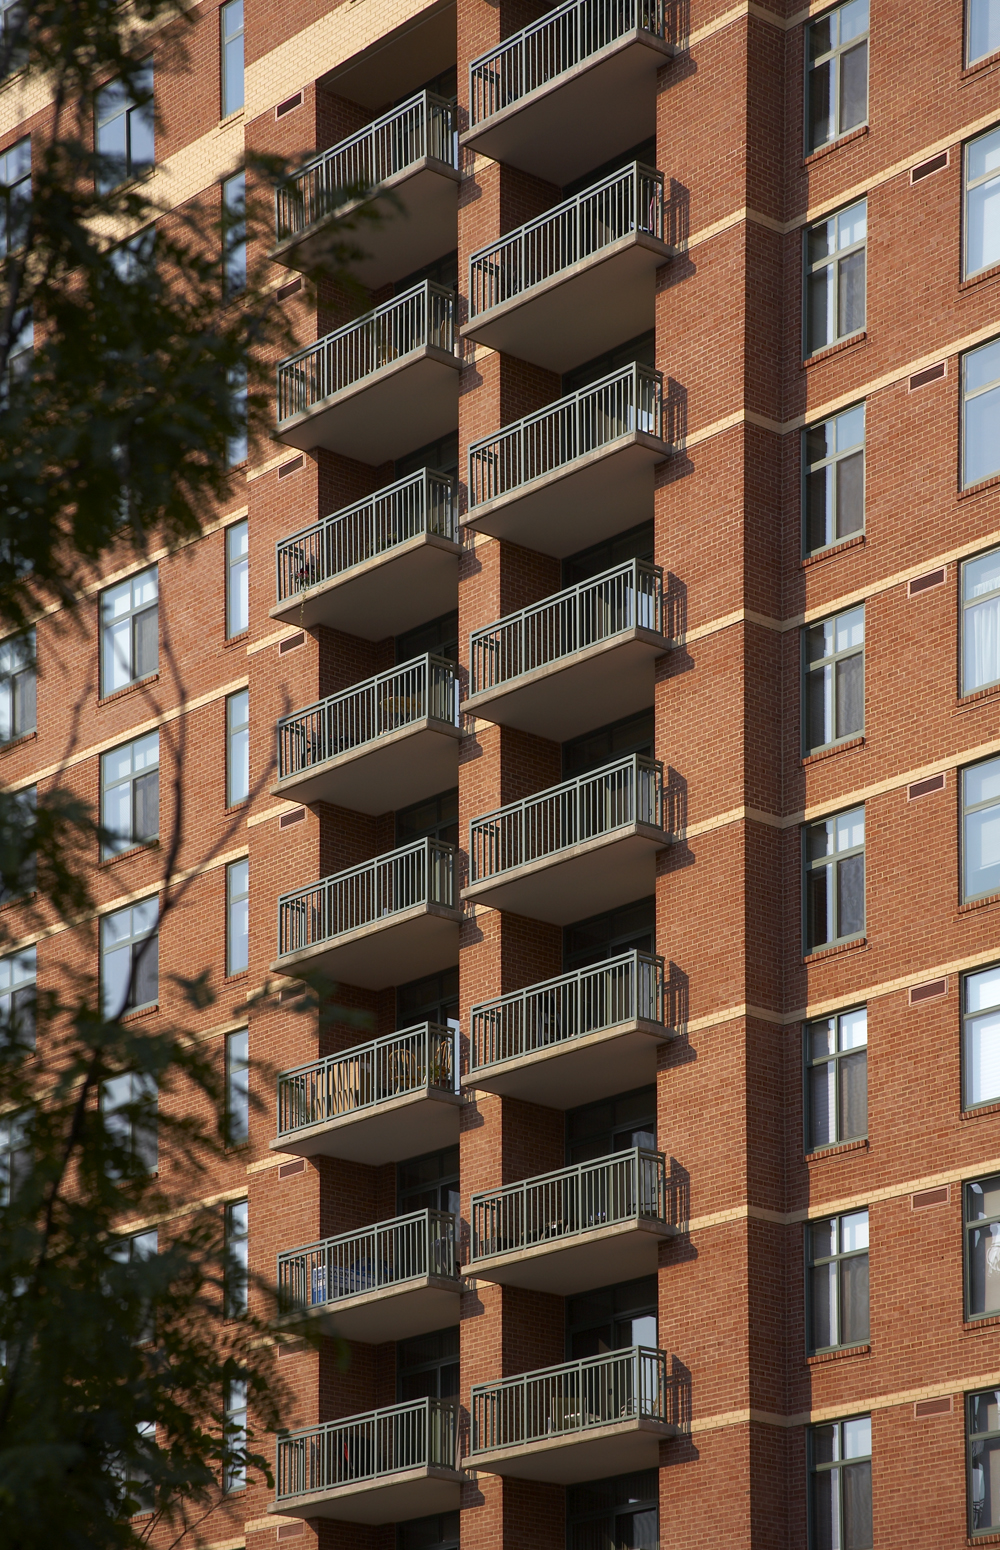
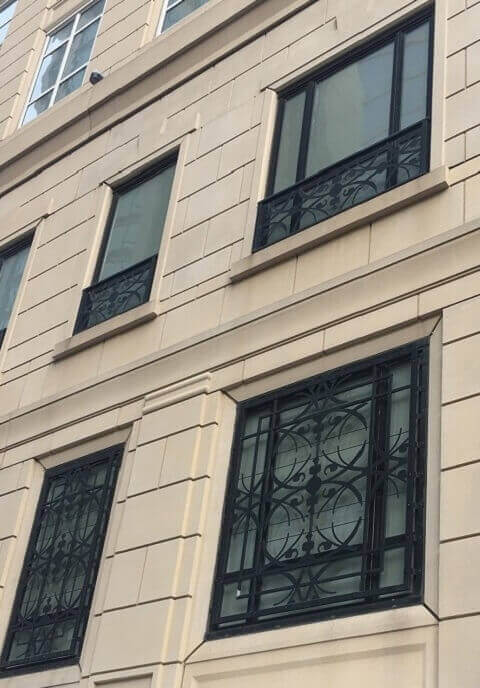
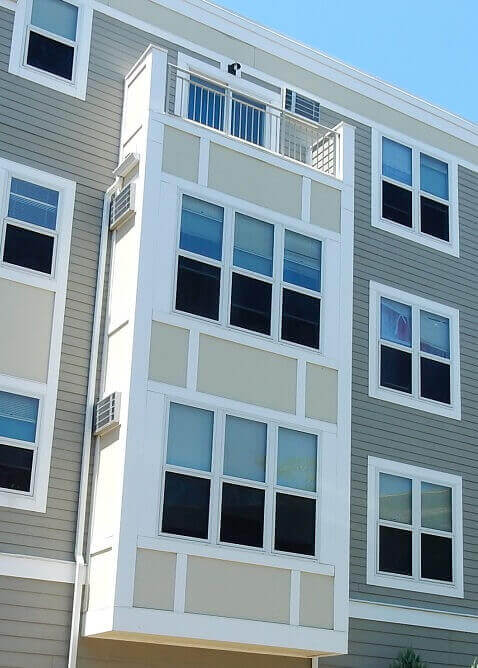
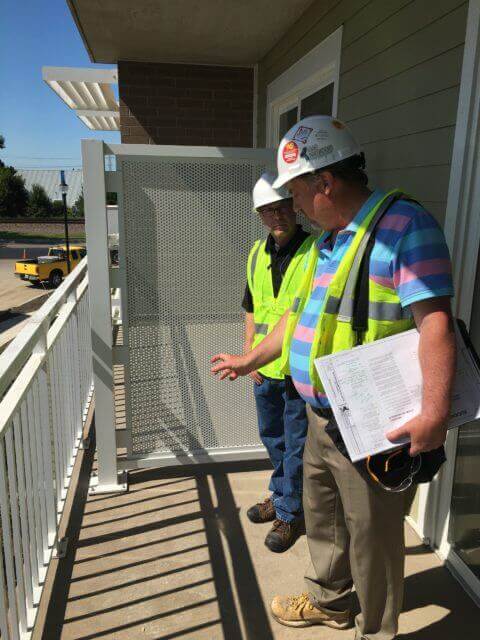
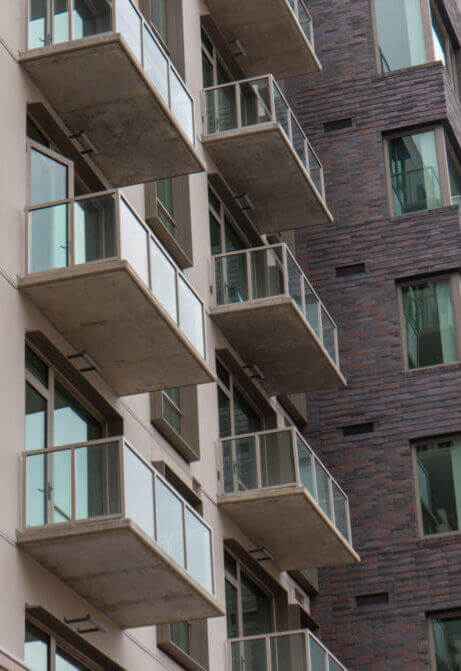
3. Juliet Balcony Railing Attachments
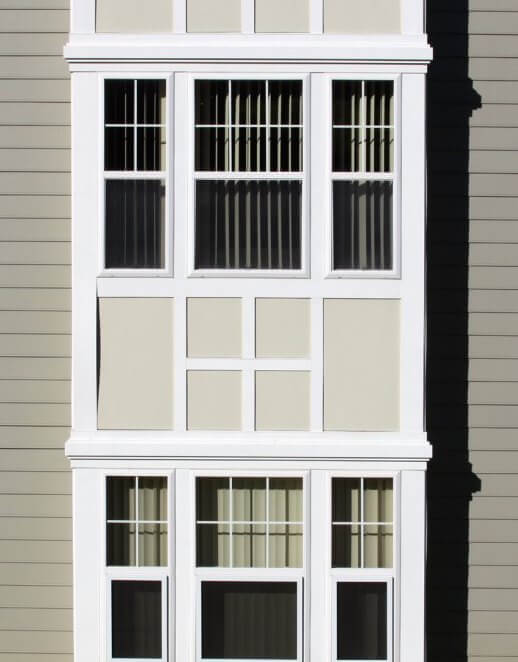
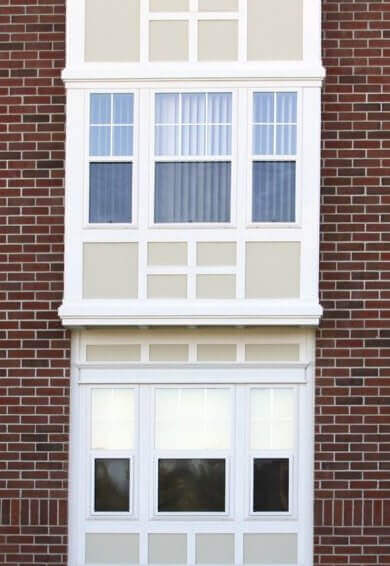
Juliet railings are a popular design to allow a full height door to the outside without providing a balcony. The railings are necessary for both fall protection and aesthetics and the attachment brackets are often overlooked as a key structural component. Additionally, as shown in this example, Kane has a design that allows a strong anchor into the interior substrate of the building without compromising the weather barrier of the building exterior.
First, the brackets are lined up appropriately and holes are drilled for screws through the house-wrap weather barrier– in this case DuPont Tyvek. Caulking was added to the back of the brackets and adhered to the house-wrap. The structural lag-bolts were then screwed through the baseplate compressing the caulk against the house-wrap and underlying sub-state. The facade/masonry can now be completed ensuring both a water tight exterior and ease of installation of the railings. The result? Moisture has no chance against good construction techniques!